Saturday, August 7, 2010

color in my world.

beauty tip: COLOR

So, lucky me, I'm in Jersey. No, not with the orange colored beef cakes, but the Long Island born Jews. I'm here because my older cousin just graduated college and the entire family, all opinionated and outspoken 18 of us, are reuniting for the first time in about 4 years. Anyhow, I was doing a very neutral smokey eye, and became bored with the simplicity of it. Then, I remembered a fun trick I like to do, and thought you all might enjoy it as well!

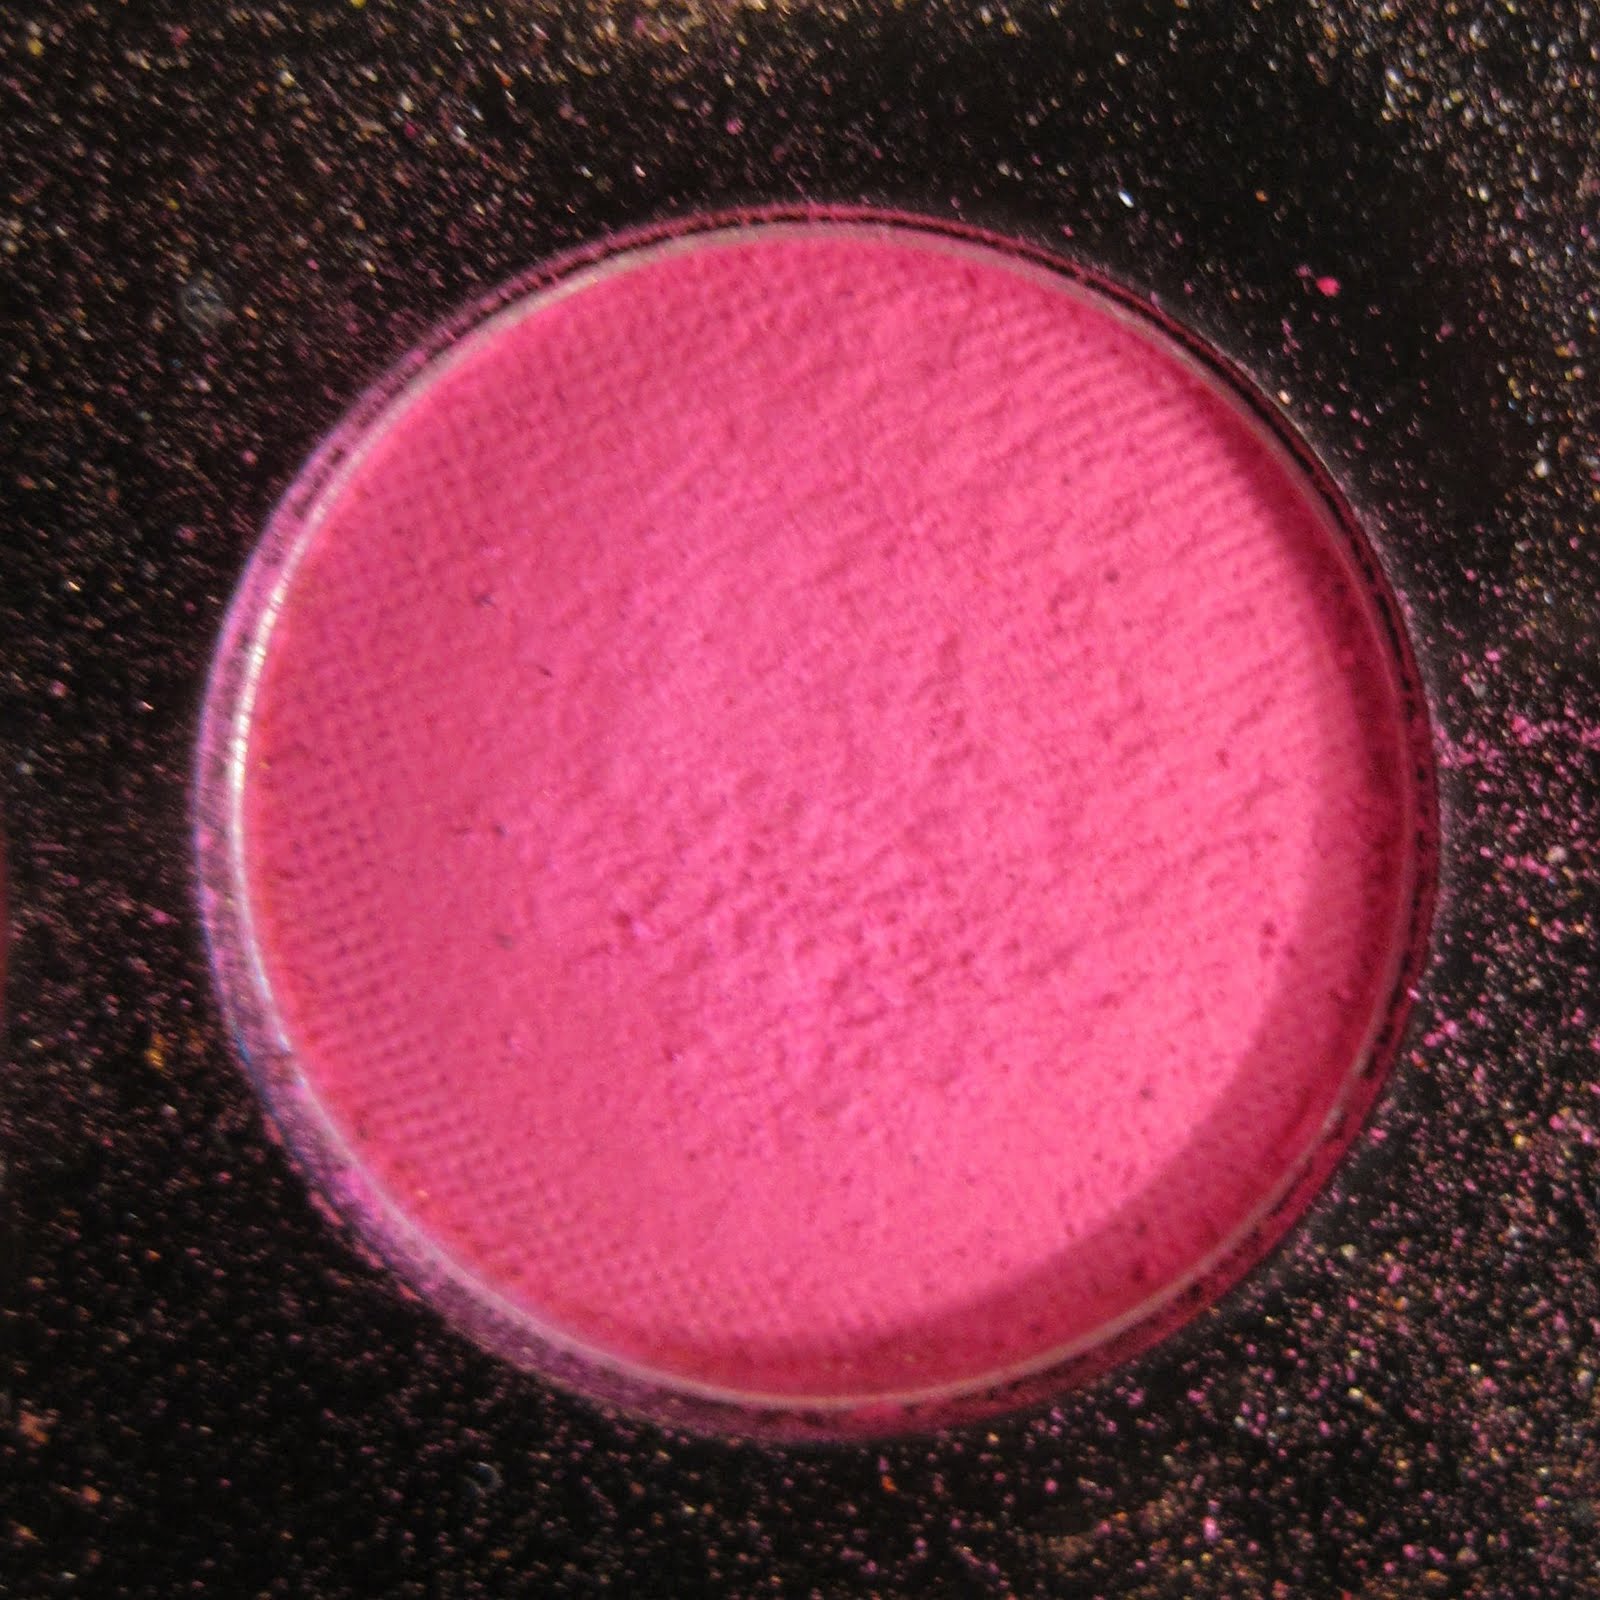
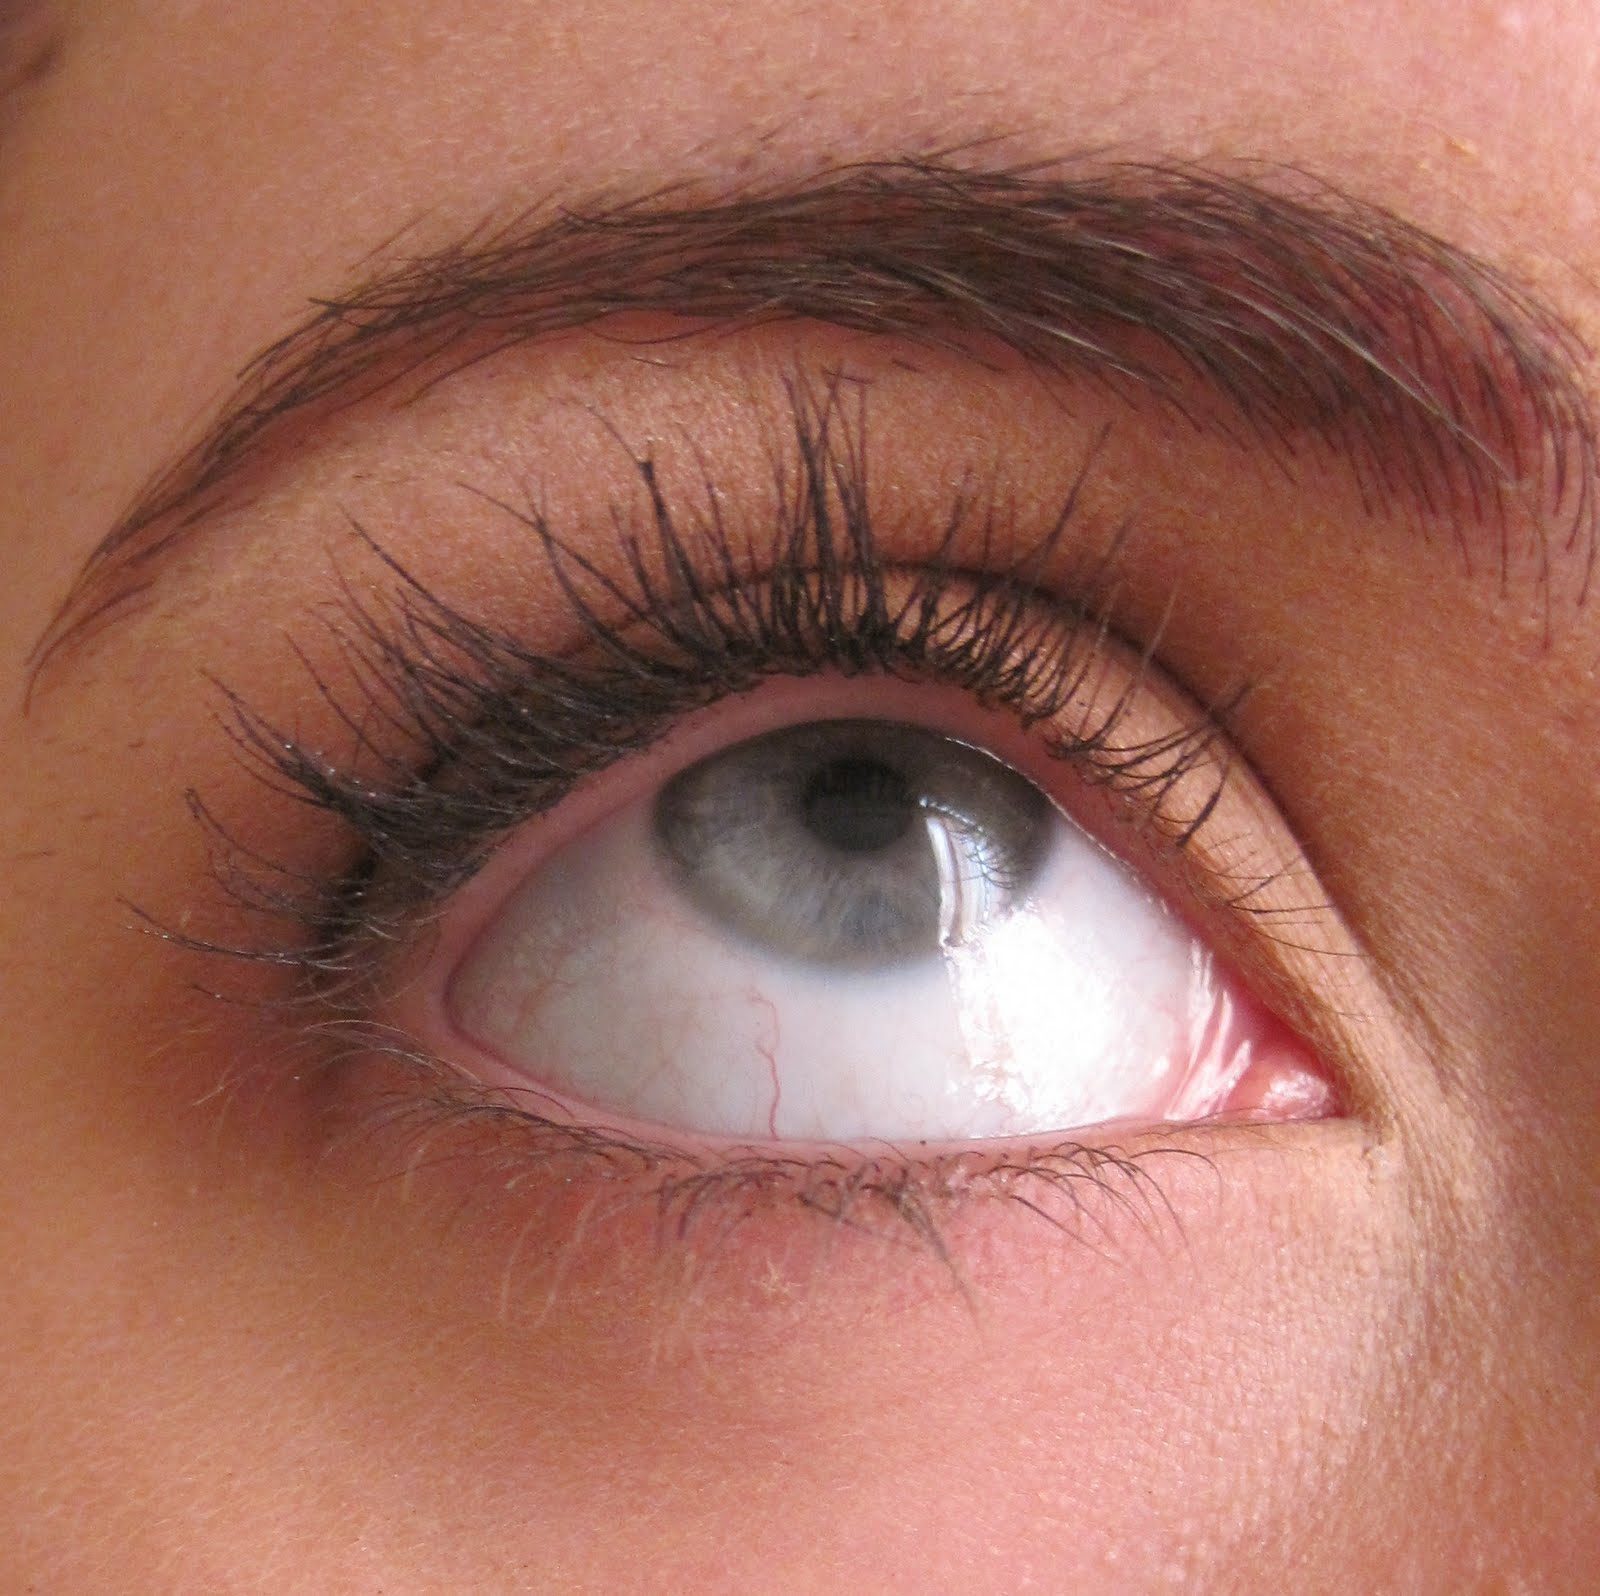
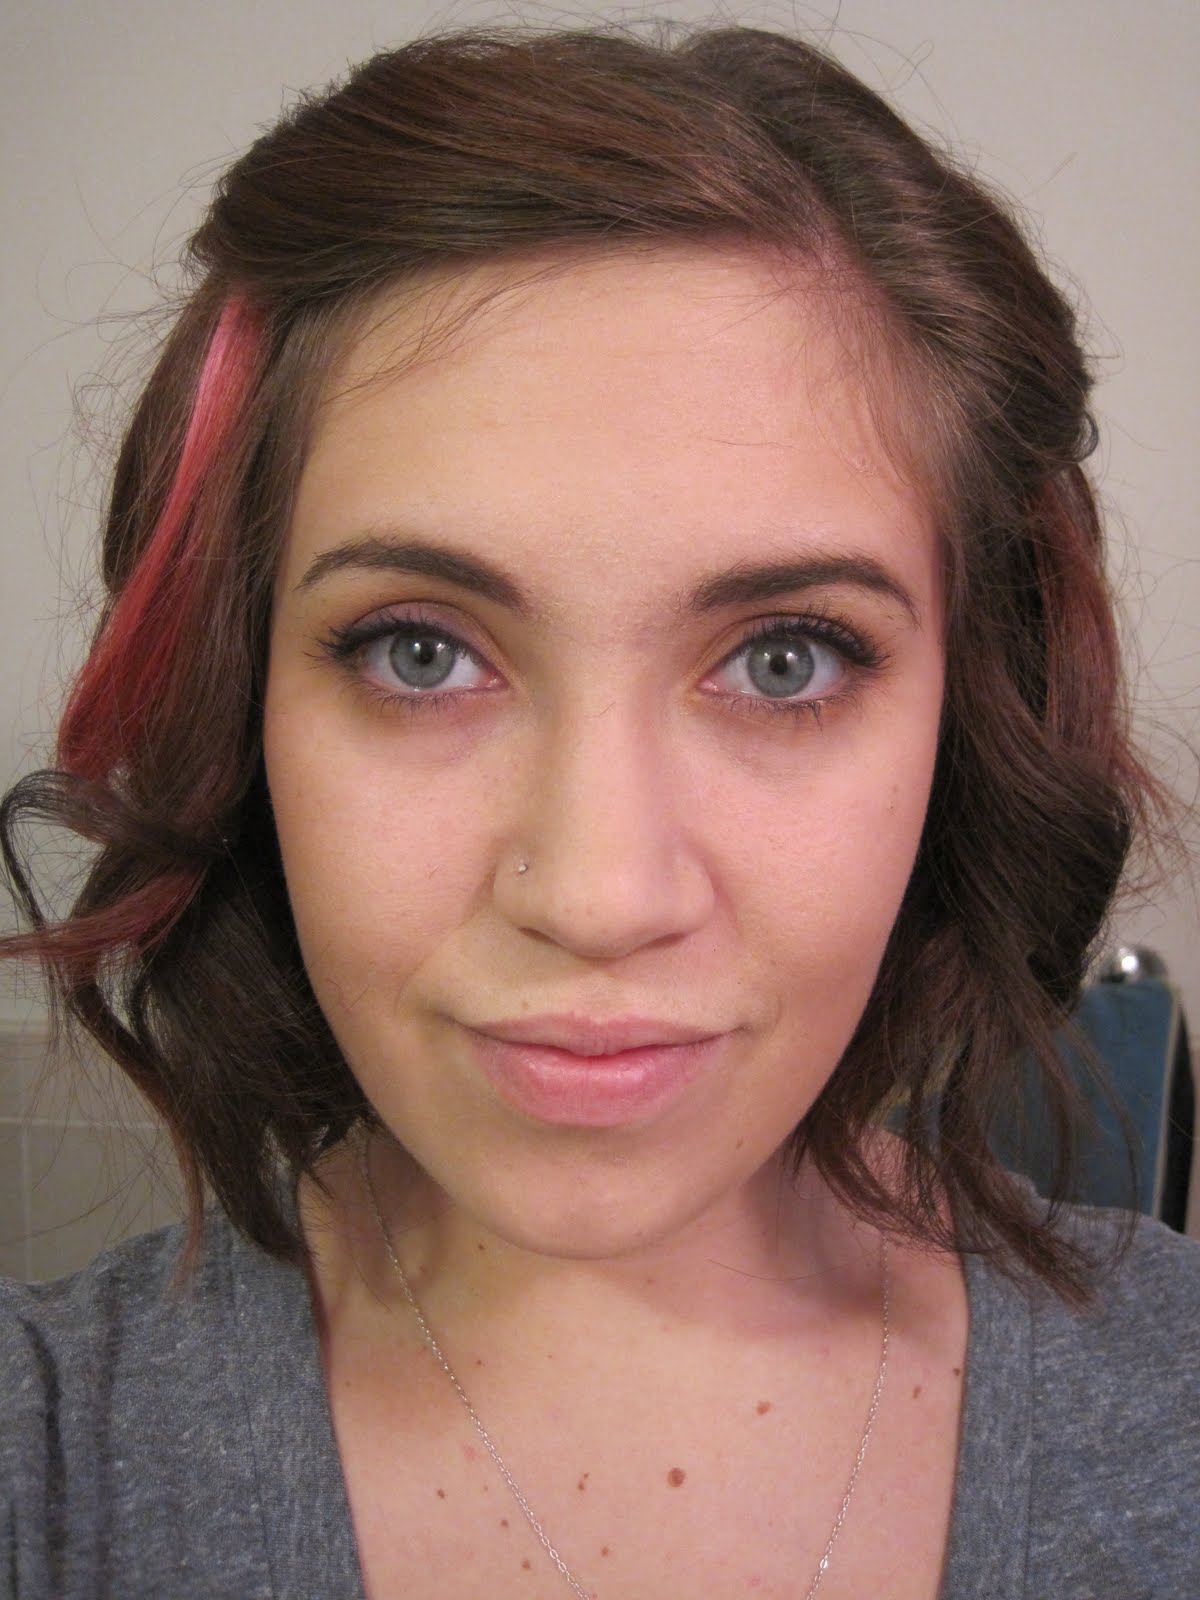
Instead of using a black or brown liner, I use a colored. When used well, a small pop of color will subtly add dimension, intensity, and brightness to an otherwise dull look. Today I chose purple, as shown below. When applying a colored liner, I suggest using a soft pencil such as those by NYX, and only line the upper lid so the color isn't too over powering. With this specific look, I first applied a purple shadow with a large angled brush, then tight lined with the purple liner.

......
*Don't mind my brows, they need to be done badly!

Other good colors to use are greens, blues, maroon, or pinks. Stay away from reds, yellows, and most oranges because they can make you look jaundice or sleepy. Best thing to do is draw a line of liner on your hand and hold it up to your eyes. This can give you an idea of how the color will affect your look. More importantly however, HAVE FUN! Color can brighten up the gloomiest of days.

...

That's all for now! Stay beautiful!

Friday, August 6, 2010

#1 beauty tip

#1 beauty tip: CONFIDENCE
Have you ever met someone,who looks more beautiful as you get to know them, or when a beautiful person is so negative and has such a poor self image that you don't want to be around them and may even look less good looking? This is because a person's inner beauty shines more vividly than most people recognize. How, might you ask, does this apply to a beauty blog? I say, why not use this knowledge to our advantage? Makeovers must be about the interior as much as the exterior to reach it's desired results. I have come up with a few pointers and tips on how to improve your confidence.
1. SMILE SMILE SMILE
Being happy is infectious. A genuine smile will brighten your face and make people more attracted to you!
2. COMPLIMENTS
Not only should you compliment others as often as possible for various more obvious reasons, but give yourself compliments as well. No, this is not narcissistic; it's extremely important that everyone be aware of their strong points. It's all about self love. When you can love yourself, others will love you back!
3. FAKE IT TIL YOU MAKE IT
When all else fails, and you aren't believing yourself, go through the motions. Eventually it'll just start to feel good and you'll believe it!

more tips and tricks from
beauty secrets 4 u

[go to the website for details of each.]

"the more confident you are -
the more beautiful you will be"

  1. never fear rejection
  2. don't be needy
  3. live in the here and now
  4. listen to your inner voice
  5. put yourself first
That's all for now! Stay beautiful!

Thursday, August 5, 2010

bright eyes.


....

how to get this look

step one:
Prime eyes from lash line to under brow and beneath eye.
step two:
Draw a line of NYX jumbo eye pencil in Milk half way along
lash line from inner corner of eye. Soften line with finger.
step three:
With a crease brush, buff a caramel, medium brown into crease.
step four:
Take a medium peachy shadow on a fluffy brush and blend
into crease and on the outer 3/4 of eye lid.
step five:
On the inner corner, apply a baby pink with the same fluffy brush.
step six:
With a flat shadow brush, pat a shimmery white to the
inner corner and on the highest point beneath the brow.
step seven:
Apply liner of choice. I used a flat brush and dark brown shadow
to tight line my eyes for a more soft look. The eyeliner can
bring this look from soft and subtle to sultry and sexy.
step eight:
Mascara and done!

...


That's all for now! Stay beautiful!

Wednesday, August 4, 2010

get in the zone!

No, not the auto zone. I'm talking about the names of each area on your eyes. Yes, they have names, and no, I did not make them up. For those of you who are new to makeup, here's a little diagram to help you better understand when I, or other makeup bloggers and youtube gurus, talk about where to place color. I hope this helps!

That's all for now! Stay beautiful!

homemade hairspray

I found this recipe while stumbling and thought that my broke beauties may find it worthwhile and interesting. It has also inspired me to start a new stream of posts: homemade remedies and recipes.

If you don't want to make it over to the original site, here's the to-do for you!

Enjoy!


"DIY Eco Hairspray"


Ingredients:
1. lemon
2. lime
3. orange

If your hair is...
- dry, you might want to only use oranges.
- dark, avoid the lemon. It could lighten your hair, especially if you will be out in the sun.

How-to:
1. Cut into slices.
2. Combine slices in a pot with two cups of water.
3. Boil on low heat until about 1/2 of the liquid is left [about 30 minutes].
4. Strain and let cool.
5. Pour into spray bottle and store in the fridge.

*This spray will last about a week, since there are no preservatives.

*Optional: Add a few drops of a complimenting essential oil. Try vanilla, coconut, lavender, or cinnamon.

peace & love

☮&♥


The past few days I've been staying with my Mema and Dede in Smallwood, New York. I bet you're asking yourself, "where the hell is Smallwood?" I could tell you it's in the Catskills or near Monticello, but I'm sure many of you would still have no clue where this place is. However, there is one landmark many of you, if not all, will identify with: WOODSTOCK. Yes, you read correctly, my grandparents live just down the street from the infamous Woodstock in Bethel Woods off 17b in New York. I went with my cousin and Mema to the museum and was inspired by this shirt to create this makeup look. I hope you enjoy! ☮&♥

......

[how to get this look]

step one:
Prime eyes from lash line to brow and under eyes.
step two:
Taking an ample amount of matte, true purple
with a small shadow brush, pat color onto outer
and halfway on crease in shape of choice.
Then with a smudger brush, place purple
onto outer half of lower lash line.
step three:
With an overall shadow brush, place pink onto lid.
Concentrate this color onto rounded, ball part of eye.
Leave inner corner or eye duct, as clear as possible.
step four:
Use this time to clean up the colors. This is not a
true "cut crease" look because the pink is laid slightly
on top of the purple, creating a softer line than
a cut crease where the two colors are placed directly
next to one another. However, it is important
there be a distinction between the purple and pink
as supposed to completely blending the colors.
step five:
Place a line of NYX jumbo eye pencil in Milk
to the inner corner of eye and below the
highest point beneath brow. Soften with finger.
step six:
With a fluffy blending brush, apply a shimmery
orange to the inner corner. Concentrate the color
to the inner corner, but drag the remains into the
inner half of crease area.
step seven:
Using the same brush, blend edges to soften the look.
step eight:
Blend out jumbo eye pencil beneath brow with
a fluffy brush and shadow similar to skin tone.
step nine:
With a large angled brush, apply any shade of
black shadow along the upper lash line.
step ten:
Tight line upper lash line with a black pencil.

step eleven:
Mascara and done!


.....


That's all for now! Stay beautiful!

Sunday, August 1, 2010

everyday neutral tutorial

......


......


how to get this look

step one:
Prime eyes from lash line to brow and under eyes.
step two:
Using a round crease brush, apply a medium brown shadow
to the outer corner, the outer half of your lash line,
and half way into the crease. Don't use too much shadow here,
and keep it within these areas. You don't want it to go much
above your crease into the highlight area. However, if it does,
take a makeup wedge, and lightly swipe it off.
step three
Now take a shadow 2-3 shades lighter than the crease color,
and apply with a fluffy blending brush over the entire lid.
Don't forget to blend well and don't place this color
above the crease line.
step four:
Place the NYX jumbo eye pencil in milk on the inner corner,
or tear duct, and just beneath the highest point under the brow.
Now, using a fluffy blending brush and a skin tone colored
shadow, blend out the jumbo eye pencil.
**TIP**
By adding a small amount of light pink to the skin
tone shadow will open and brighten your eyes even more!
step five:
With a stiff, flat brush, apply a dark brown shadow
to the lash line. In this look, I applied the shadow in
a straight line from the center of my eye.
step six:
Mascara and done!


face
So, if you don't already know who Kandee Johnson is, look her up NOW! She is amazing in every way possible. Anyhow, I saw this video of hers, that I now cannot find, where she used L'Oreal True Match cover up in two shades to cover and contour. She basically covered her face in the color closest to her skin color and contoured with a color 2-3 shades darker. When you contour, the darker color is applied in a "3" shape to the frame of your face: temples, hallows to cheeks, and jaw line. BLEND BLEND BLEND! I think applied a very thin layer of loose powder over my entire face and a light bronzy rose blush to the hollows and upper part of my cheeks. Of course, prior to applying cover up I covered blemishes using Sephora's concealer quad. Here's a quick lesson in color theory and cover up: green conceals red blemishes, purple hides freckle like spots, and yellow helps with green colored patches. I use the lightest tan under my eyes and just under the brow and the darker color on my lid to smooth and even skin tone. Once I get my youtube page up and running, I'll be sure to show you this. Reading only helps so much.


.....


That's all for now! Stay beautiful!